Feeds:
Posts
Comments

Archive for the ‘Make Your Own’ Category

I can ferment sauerkraut with my eyes closed, but I have had a hard time with fermented pickles in the past (didn’t turn out well) … I just keep trying. Instead of using whole pickling cucumbers I decided to try my luck and go about it differently, so I sliced the cucumbers this time.

I did not plant cucumbers this year. I talked to my neighbor/friend about growing cucumbers this season because I grow most of my peppers and the zucchini in their garden and he agreed that this year we could share the cucumbers too. He has been growing Armenian cucumbers (actually in the melon family) for the past few years and he always has way more then he needs. The Armenian cukes are nice, but I want to grown pickling cucumbers again.

Fermenting - Day 1

Fermenting – Day 1

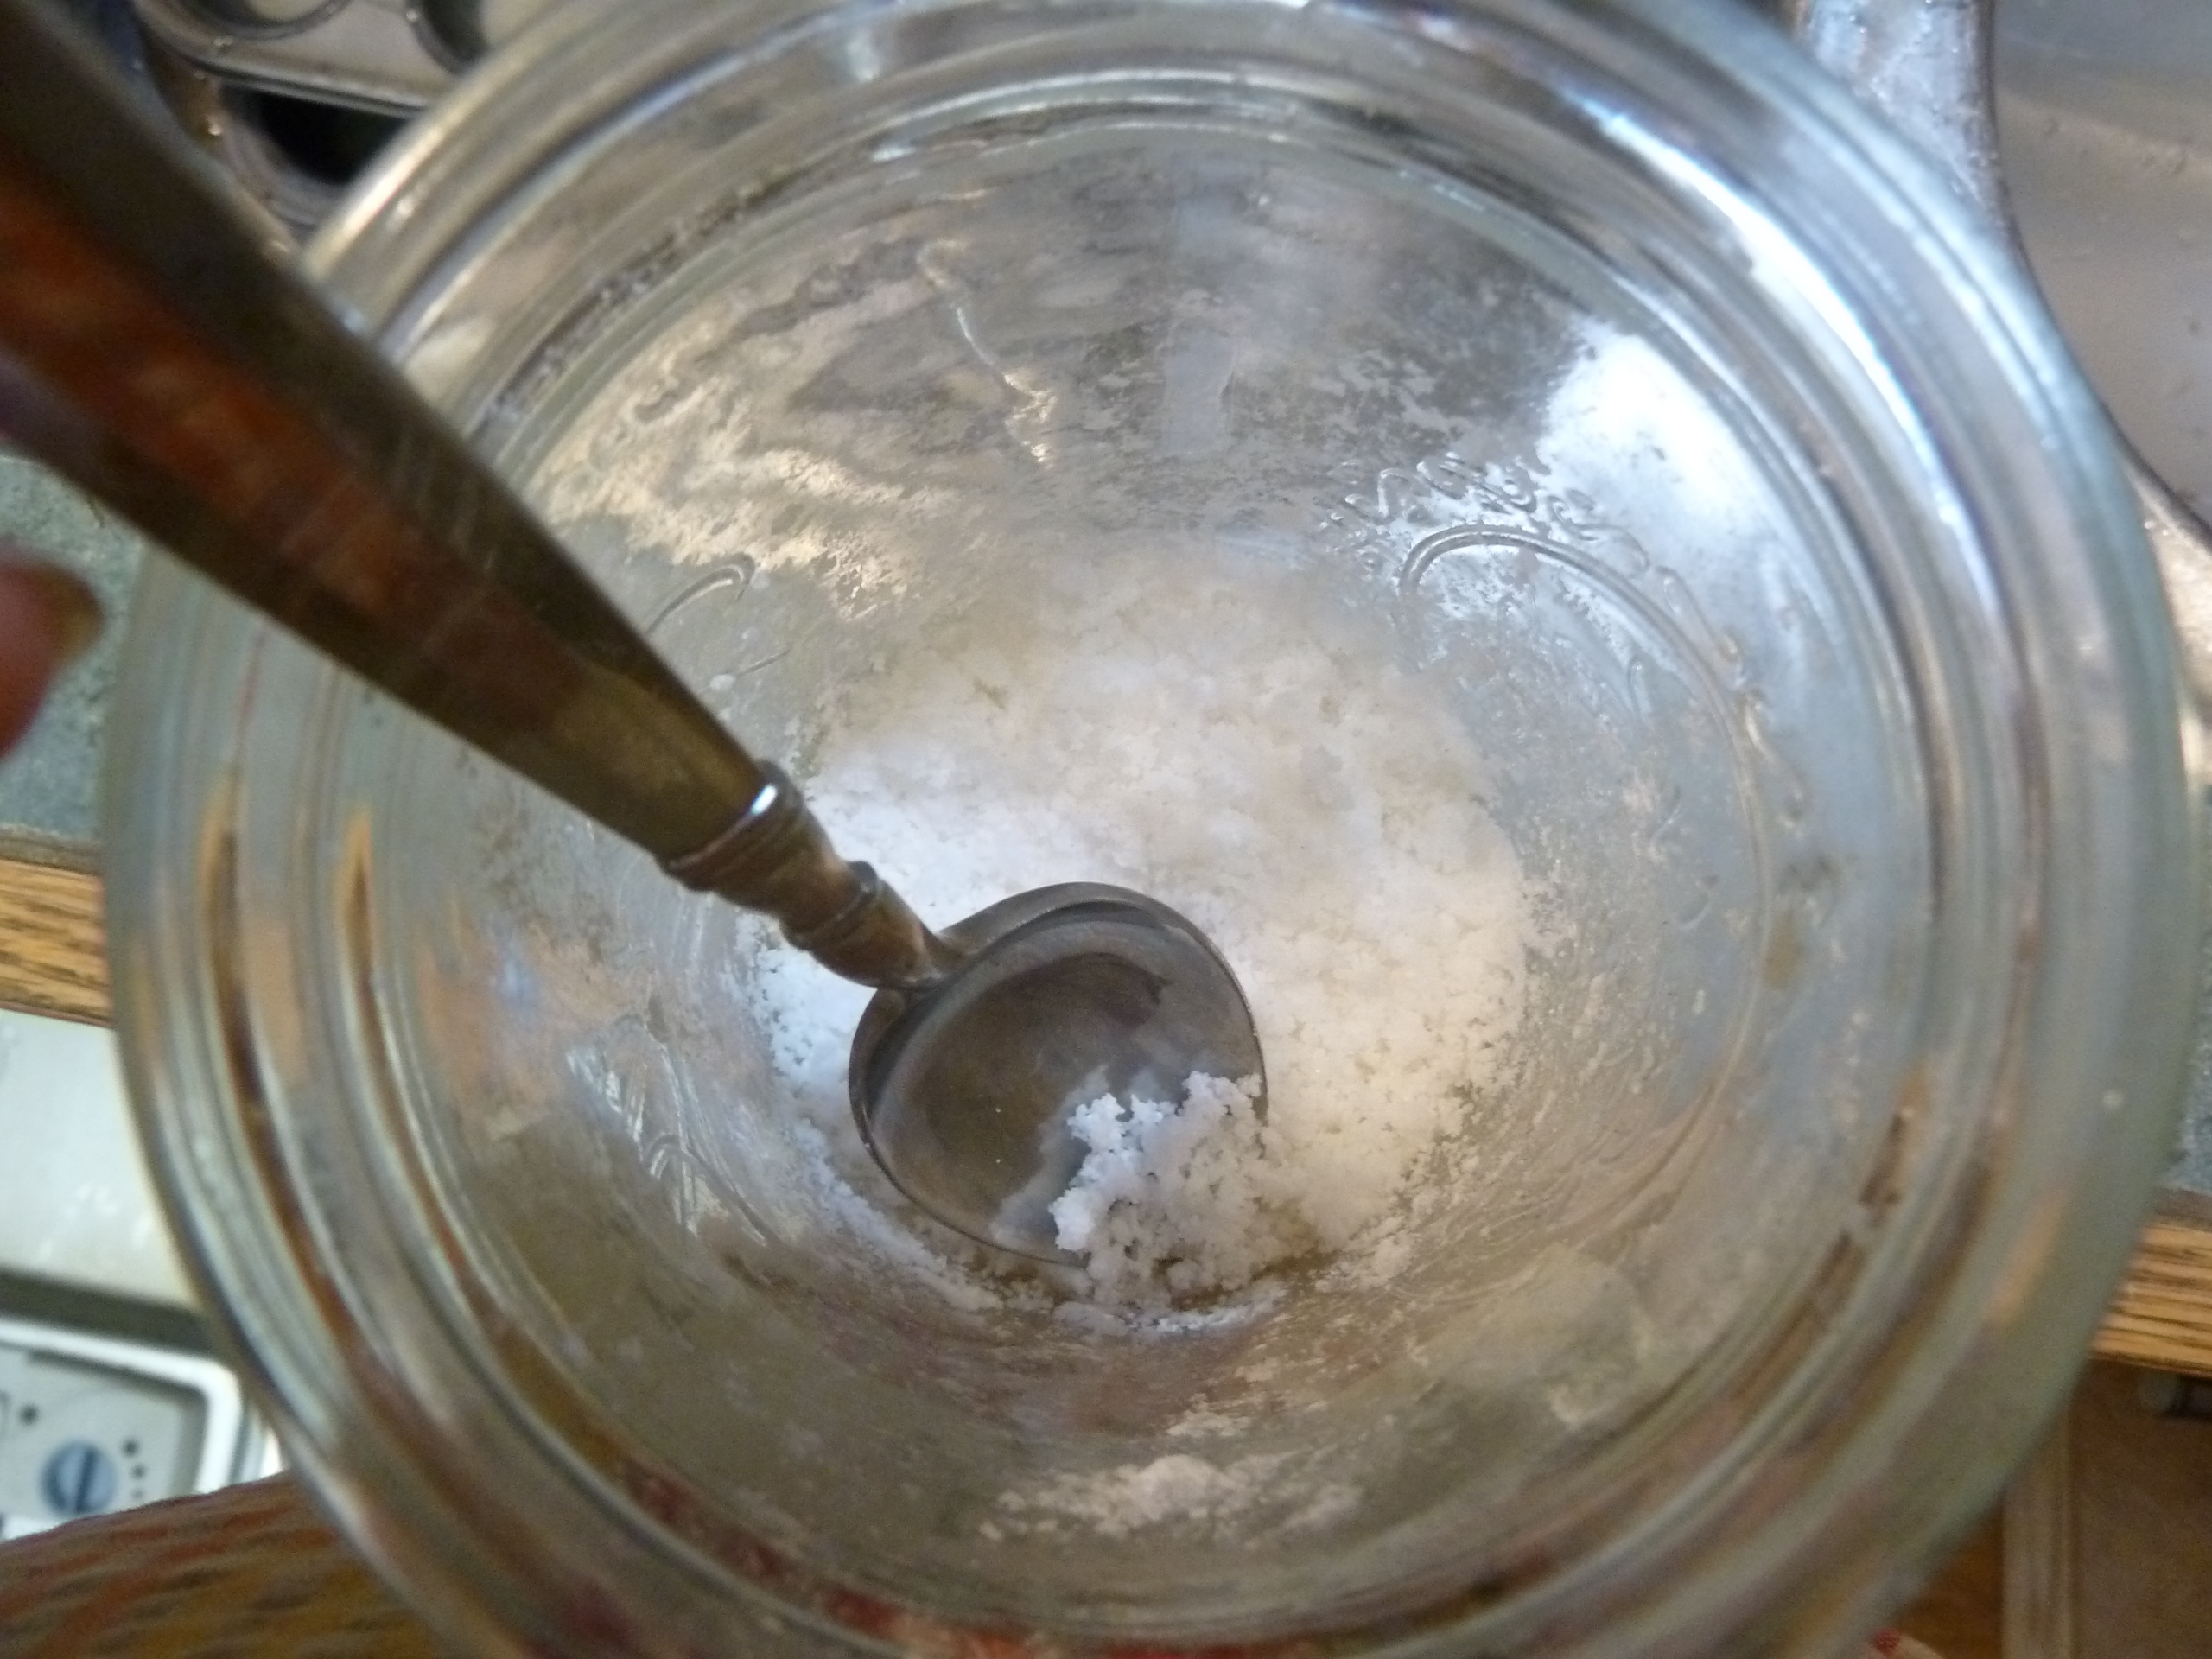
Back to my experiment… I sliced the cucumbers and put them in a glass gallon jar. I added the herbs and spices that I wanted (dill seed, celery seed, and garlic) and poured the brine over the top. The brine was 1 1/2 T to 4 cups water.

The big thing with fermenting is that you need to keep the vegetable below the liquid to avoid bad bacteria from growing. I could not find a jar that was big enough, yet small enough to fit down through the opening of the gallon jar. I had to resort to using a gallon zip-top bag with a little water in it, then I sunk a pint jar into the bag and filled the jar with some water also. I am not a big fan of plastic, but it worked. I will be either looking for the perfect jar to weigh things down or a different glass jar. As I type this and thing about it – I really could have used my fermenting crock.

The past issues that I had when fermenting pickles in the fermenting crock that I have is the weights. The whole cucumbers are so buoyant and the ceramic weights are a bit on the smaller side that the cucumbers can sneak up on the edges. Then they are exposed to air and things go quite wrong in a hurry.

It worked! I have successfully fermented cucumber slices (three times now!) Boy are they good! We now have a ton of them in the refrigerator and we are munching our way through them fast. I have shared several quarts with our neighbor/friend.

Day 7 or 8

Day 7 or 8

Next year I look forward to canning some pickles so we can enjoy them throughout the winter too, but in the mean time we are enjoying these fermented ones. I know they have more benefits to them (chuck full of healing probiotics!) I also look forward to the fall and winter garden to ferment some of the root veggies like carrots, turnips and onions.

Other post on fermenting:

Anyone else out there fermenting things?

Sincerely, Emily

Read Full Post »

As it warms up in my area, I am already starting to notice fruit flies in the kitchen. I certainly don’t miss having hem around in cooler winter months! They aren’t out in full force yet, but I know it won’t be long.

I understand the temptation for them with all the fermenting experiments on the count, so it isn’t like I a surprised they are around, but it just gets hard when you do to take a drink of something like ginger beer  and find a fruit fly floating in the glass AGAIN!

Last summer I tried a few experiments to try to control their numbers. This is the one that I found that worked best.

Fruit fly trap

Fruit fly trap

I took a smaller sized mason jar and put some ginger beer in it (you can use anything sweet and tempting to a fruit fly – even cut up fruit.) Then I covered the jar with a piece of paper and secured it to the jar with a rubber band making sure that it was tight around the jar (no gaps at all). Next, I poked holes in the top with a larger needle. The holes needed to be big enough for the fruit flies to get in, but not get out.

I tried this with plastic wrap at first but if I poked a hole to big that was non productive and I also noticed that after a few fruit flies were trapped in there, that was it, no others seemed to try. That is why I switched to paper, thinking the fruit flies on the outside couldn’t see the ones on the inside and still try to get into the trap. The paper seemed to work really well.

Fruit Fly trap 1The only downfall I have noticed is, that once you have a ton of fruit flies in there, how do you kill them and get them out without taking the paper off (the lies one fly away!) I managed to shake up the jar enough to get them all wet and then empty it at the sink where I could rinse everything down with water before they had a chance to dry off and fly away. Another option is to set the jar outside and forget about it (yup, I did that) until they all die, then take the paper off and clean out your jar.

I had more than one trap going in the kitchen at a time and switched them out often for a fresh one. I realized that I needed fresh ginger beer in their to keep attracting them into the trap.

Have you made a fruit fly trap that works well for you? Please share you experiences in the comments.

Sincerely, Emily

Read Full Post »

I make everything from scratch, to avoid ingesting hormones, additives, and preservatives that I consdier pernicious, or at least whose beneficial or pernicious qualities are an open question. Dinners, desserts, soda, sauces and jams, breakfast cereal, trail mix, all sorts of bread. (Still haven’t made my own noodles, because I can’t seem to run out of the ones I have. I’ll get there Susy Morris, I swear.)

At almost 60, I’m a remnant of the last generation that routinely learned to cook at home. While I never stopped making dinner- the stews and soups and roasted chickens- I had largely abandoned baking, picking it back up a few years ago. I started with crackers, then scones, and moved on to pie (yes the crust too, thanks for asking).

It turns out to be like language– while I do rely on recipes, I found baking intuitive for the most part; call it “touch memory” from my childhood. Like smells, it turns out the texture of a proper pie crust, and the correct amount of cookie dough to scoop up, and the shape of a pita are learned skills that lurk in the interstices of your brain until you need them again.

But I didn’t trust myself with bread.

I’ve been through many recipes- the Browneyed Baker, and Mark Bittman and my favorite legacy cookbook. I’ve watched the complex terror that is America’s Test Kitchen’s minute description of how to fail at breadbaking. I followed every step to the letter. I asked my pro-baker buddy for tips. But it wouldn’t rise, and it didn’t look right, and the crumb was too loose or too dense.

The only expert I didn’t consult was that lizard brain of mine, which kept telling me that none of my breads felt right.

A month ago I went to a bread baking demonstration, expecting to find That One Weird Trick That Will Make Your Bread Turn Out Correctly Every Time!

And I did.

The presenter started throwing ingredients into a bowl– warm water, melted butter, yeast, sugar, coffee, salt. He dismissed experts and recipes– “two cups of liquid, some kind of shortening, yeast, flavoring like salt, 4-5 cups of flour. That’s bread. Any kind of bread– flat bread, loaf bread, fancy bread.” Now this sounded more like cooking, and less like that scary, scientific, chemical-reactions, cautiously weighed ingredients mystery that is baking. And I remembered baking bread with my mother; she used to have a cookbook out, but I seldom remember her looking at it. She would just make the bread, and tell me “this is what the dough should feel like when it’s ready to rise, and this is what it feels like when it’s ready to bake.” Here’s how it looks and here’s how it smells.

So I started making bread, instead of reading recipes. The first time I ignored the recipe, I forgot the shortening in a loaf bread. Bread without shortening gives you flat bread, like pita, so you can imagine how nice and dense that loaf was.

But it freed me from the tyranny of perfection– I made edible bread armed only with ingredients and my knowledge. So I made another loaf (and forgot to punch it down– this results in a bread “balloon” in case you’re wondering), but it looked and tasted like bread. I’m on my fifth loaf now, and third successful loaf. Easy, in fact, as pie turned out to be.

Standing at the counter kneeding bread feels not just like, hey, I’m going to have some delicious bread in a few hours. It feels like I’m Eve, or Miriam, or Mrs. Ingalls, or my mother, doing what women do, and have always done.

Making bread.

DSCN1163

Read Full Post »

I went to my first swap this past April. I had heard of swaps but didn’t find one in my area until a friend found this one on a MeetUp page and told me about it.

Swap July 2013

Swap July 2013

The organizer set up a few guidelines and the rest is history. She holds it once a month.

There were a few guidelines to follow:

  • No money was allowed – this is all about the trade and bartering with what you have for what you want/need.
  • Items should be sustainably-minded. Something you have grown in your garden, something you conned/cooked/brewed/baked/preserved/dried, etc. Something your animals made (goat milk, hen eggs, lamb wool, etc.) Something you sewed/knitted/re-purposed, etc. Items to do with sustainable interests are also good (Mother Earth News magazines, cookbooks, cooking/camping gear, etc)
  • The items you should leave at home: this is not a garage sale, items should be about sustainability. Leave the knick-knacks at home.

Once we set up, we were allowed 15 minutes to walk around and check out the items other people brought so we could see what we were interested in.

Lemon pickles, Dill pickles, Homemade Teriyaki sauce

Lemon pickles, Dill pickles, Homemade Teriyaki sauce

Each month I have been posting about the swap over on my personal blog. About a month ago I realized that I hadn’t posted about the July swap and I thought it would be a good topic to post here. I have known the swap and barter system is out there and alive, and I realize that there may be others out there that are interested, but don’t know were to look or even how to get started.

Here are the other swap posts I have done”

Here are a few places to look to find swaps in your area: Note: I will add additional information to this post as I find it or as people comment. (updated 19 Sept 2013)

Would you go to a swap if you had one in your area?
Are you participating in a swap in your area?

Please use the comments to let others know about how to find a swap. If you out there participating in a swap, please comment with the general area you are in and add a link to the swap information.

Sincerely, Emily

Read Full Post »

My mother died when I was 22.

Not an auspicious start to a post, is it. But I promise not to be depressing. I’m just back to the fallible parent theme.

My mother was a wonderful cook, and a much better baker than I’ll ever be. But there are standard family dishes that I make much better than she did.

She’ll never know of course, so no sheepish “sorry, Mom, your Shepherd’s Pie is dry.”

Now my mother-in-law, this is something different. She’s very much alive, and teaching me how to cook Chinese. Last fall she came over and showed me how to make Luo Bok Gao (turnip cakes– you may have had these if you’ve had dim sum). She brought three different kinds of rice flour (on this week’s theme) and we used daikons from the local grocery, but it just didn’t taste right, and they were very gluey.

Then, last year, I found seeds from Kitazawa seed company, which specializes in Asian vegetables, for actual luo bok, called Korean Turnip on the label. These are, essentially, 2 pound radishes, with a consistency somewhere between radish and turnip. So I pulled my mother-in-law’s recipe, and a recipe pulled off the internet, and landed somewhere in between.

Result? Restaurant quality luo bok gao, way better than mom’s

Awkward.

Homemade Luo Bok Gao

Ingredients:
2 ½ lbs     (1 lb)     Chinese turnip
1 ½ cup     (¾ c)    gluten-free rice flour
3 Tsp     (1 ¼)     corn starch
2 tsp     (¾ tsp)    salt
2 tsp     (¾ tsp)    sugar
½ tsp     (¼ tsp)    white pepper
1 ½      (1)    Chinese sausage, chopped to small pieces and fried (if you don’t have this sweet, dense sausage available, a cheap, mild salami is a good substitute– the fattier the better)
2    (1)    small dried shitake mushroom, soaked in water for 1 hour, then cut off stem and diced
1    (1)    green onion sliced
¼ cup    (¼ cump)    shrimp, diced
1 ½ cup    (¾ cup)    water (approx.)

1. Peel and grate the turnips into a pot; add a small amount of water. Bring it to a boil and cook on medium heat for 15 minutes, add more water if needed.
2. Grate the mixture with an immersible blender and then add the Chinese sausage, green onion, shitake mushroom, shrimp, and carrot into the pot.
3. Add salt, sugar, pepper, turn to low heat, and continue to stir.
4. Gradually add the rice flour to the mixture. Do not add it all at once.
5. Add some water and the corn starch, continue to stir. Mixture should not be runny or solid. Add the meat and vegetables.
6. Grease a non stick cake pan (about 8 inches) or casserole dish, pour mixture into pan to a one-knuckle depth, and steam for 40 minutes. To steam: use a large steamer or a wok, add water to the bottom and support the pan with a small rack. After 40 minutes, insert a toothpick in the centre, if it comes out clean, the Turnip Cake is ready.
7. Let cool. To serve, slice and pan fry until golden brown. An 8″ cake yields about 9 small slices. Serve with any traditional sauce.

This recipe makes two 8″ cakes.

Read Full Post »

Ever have one of those weeks where the money just beats a path out your door?

I actually have very careful plans for the money to make its way, under my control, into various repairs and upgrades. Yes, one must save for the new roof, but replacing the 50 year old piece of junk NOT an antique couch would be nice too. I have some great, fun projects on that list– I desperately need a new front door. Bet you didn’t know that a door can  break, did you? Mine is a beautiful, ancient thing with a large piece of beveled glass.

That slipped out of its mooring and can’t be either replaced or fixed, at least by anyone that I can afford. I’m terrified to try it myself, because the piece of glass is huge and heavy. So I really need a new door, and while I’m at it I’d like to just rehab the whole foyer, which is an ugly mess (very bad chi for your entryway to be an ugly mess, and I really don’t need any more bad energy right now).

I’d love a dining room rug.

I always promised myself that once the food-dropping, mud-shoeing kids were gone, we’d get a nice dining room rug.

I am very very good at stretching a dollar, and at saving for things like this, even on a meager income.

And then the gas company discovers that your stove is improperly installed and disconnects it.

And then they discover that the switch on the water heater is broken so they disconnect that too. And your daughter, who is living upstairs, makes a strong case that water pressure would be nice.

Ten minutes after the plumber leaves, the outside water line springs a leak, and then you make it worse trying to fix it yourself so you don’t have to pay a plumber.

Looks like the couch is going to be here a little longer.

Read Full Post »

Yesterday I posted about some free wood scraps (cut offs) that I got from a neighbor. Today I wanted to show you the benches that I made using similar scraps of wood.

Another, taller, bench

shorter bench -1I originally saw this bench design at my next door neighbors. He is the woodworker that I have posted about before (over at Sincerely, Emily) who makes wooden toys and the bus. He is very handy, and builds a lot of other things that they need or want around the house/property like a tall, large tripod to hang large wind chimes in or trellis for any vines. He also built a pergola off their screen porch and aviaries for their doves and another one for a parrot. Small scale or large scale, he has his hands in it and he has always had a pile of scrap wood to use along the way.

What is so great about these benches is that you can make them any height and any length. You just build them to fit the space you need to fill or the area you want to use them.

scrap wood

Using scrap lumberNot only can you make them to fit your space, but the scarp wood you use for the horizontal pieces on top can be mixed and matched. They can be 2×2’s, 2×4’s, 2×6’s, etc. I am definitely not picky and do not need them all to be the same. I love using the 4×4’s for the legs. They make the bench very sturdy and will take the weight of a lot of plants or a person if you are making it to sit on. The smaller tables my step-dad made for the laundry basket near the clothesline and the compost tumbler where made using 2x’6’s for the legs. Those tables do not need to support a lot of weight, so it was good to use the lumber scraps we had and save the 4×4’s for the plant benches.

Small table at clothesline

I put a piece of concrete under each leg (look at first photo) to keep it off the ground and away from moisture so the leg won’t start to rot. Our ground has not been moist or wet very often over the past few years here in South Texas, but if I can help the legs of my benches last just s little longer, I will.

The pile of scrap wood I hauled home in November still sits and waits for me. I had planned to get a few benches made this winter, but that is one of those things “on hold”  until I get better and can do my own things again. (JD is you happen to be reading this, feel free to use that beautiful scrap lumber and build me a couple of benches!)

I have talked about how strange things get me excited, like free horse manure and free mulch. Well, you can add scarp wood (or cut offs) to that list.

What kind of neat free stuff have you picked up along the way?

Sincerely, Emily

Read Full Post »

This is a post I had started over on my personal blog a few years ago, but it just kept getting pushed further down the posting list until it was out of sight. Alexandra commented on my post last week about getting the recipe…. just the push I needed I guess.

I found this recipe back in 2010 over at Living on a Dime and I have been making them ever since then. This is what my husband has for breakfast every day. They make a great snack and they freeze well.  I always grab a few to take with me when I head out to run errands for the day. Having them with me keeps me from making a bad decision (fast food drive-thru) when I start to get really hungry.

I stack them in a pint canning jars to take in the truck.

I stack them in a pint canning jars to take in the truck.

The base of the recipe is great and then you go off in the direction you want to with your special ingredients. I substitute honey for the granulated sugar in this recipe. I know honey still has calories just like granulated sugar, but I am not focusing on calories here, I am focusing on my ingredients and where they come from along with the benefits of the things I add to them. Also, I think I am getting a healthier granola bar then the ones in the store that are full of additives and preservatives that I am working so hard to stay away from.

mixing up granola bars

Homemade Granola Bars           Adapted from website Living on a Dime

Cream together (I use my stand mixer or hand-held mixer)
3/4 cup brown sugar
1/2 cup sugar
1/2 cup butter or margarine, softened

Add to mix (use electric mixer)
2 Tbsp. honey or corn syrup
1/2 tsp. vanilla
1 egg

Peanut butter (optional)

Add to mix (I still use that mixer)
1 cup flour
1 T cinnamon
1/2 tsp. baking soda

Stir into mix

Add dried fruit, nuts, coconut, etc.

Stir in remaining ingredients.

Add to mix
1 1/2 cups rolled oats
1 1/4 cups crispy rice cereal (I use an organic puffed rice or puffed millet)

Press firmly into the bottom of a greased 9×13 pan. (I use the back of a spoon to press the mixture into pan.)

Bake at 350° for 30 – 35 minutes. (looking for golden brown – but not crispy

The bars will firm up as they cool.
Allow the bars to cool completely before cutting.
Makes 24 bars.

Here is what I add to mine:
Ground flax seed
Sunflower seeds
Peanuts
Coconut
Raisins or died cranberries or dried apricots

Granola Bars - done

A few of my notes:

  • I don’t tend to measure the ingredients when I am making these up, other than there is always a 1 cup measure in each jar of flour that I have and 1/4 cup measuring cup in both my oatmeal and my puffed millet. I have found when using honey in place of the granulated sugar that I need to add more flour to the mixture. Since I am not measuring, my granola bars can come out either quite chewy gooey or quite firm and crunchy.
  • Another thing to keep in mind when using more honey in these bars, is that if you bake them at 350F like the original recipe calls for, they will brown and burn more quickly and the bars won’t be completely cooked, so I turn down the oven to 300F to bake them slower and a lower heat setting. They still brown up more, but they don’t burn as quickly.

I cannot count how many times that I have passed on this recipe and everyone that has made them has been thrilled with the results.

I make two batches at a time and always keep them in the freezer.

Do you make your own granola or granola bars? Feel free the share your recipe or a link to it in the comments.

Sincerely, Emily

Read Full Post »

Over the past few months I have helped a some friends start making up liquid laundry soap. Now that they have seen how easy it is they are asking more questions about additional recipes. One that keeps coming is is Dishwasher Detergent.

Dishwashing powder

My journey to the current dishwasher detergent recipe that I use has been a long one. Mainly that of trial and error. And then more trial…

The original basic recipe that I saw over and over was this:

  • 1/4 cup Borax
  • 1/4 cup Washing Soda (not Baking Soda)
  • 1/8 cup Kosher Salt
  • 1/8 cup Citric Acid

Use 1 T per load in detergent compartment.
You can see some discussion on this during the Real Clean Roundup over at Not Dabbling in Normal from May 2011. Same recipe as you see listed above

Well, that basic didn’t seem to work for me and there are several variables that seem to make this either; sort-of work, work really well, or not work at all. I have been through all of them.

The Big variable is the water. It is amazing how much difference there is in water. We all know about soft water and hard water, and then there is everything in between. All those “everything’s” are huge variables, apparently, in making your own dishwasher detergent.

In all my trials, what it came down to was the amount of citric acid in my recipe and the amount of homemade detergent that I actually put in my dishwasher each time. Here is the recipe that is working for me.

  • 1/4 cup Borax
  • 1/4 cup Washing Soda (not Baking Soda)
  • 1/8 cup Kosher Salt
  • 1/4 cup Citric Acid

1 T per load in the compartment (no more, no less)

If my silverware and glasses come out cloudy – that usually means I got carried away and added to much detergent mixture. If it happens, I am more careful about measuring it out next time I do the dishes.

For a Rinse Aide:

I use regular white vinegar in the rinse air compartment or a citrus infused vinegar (made by taking the peel (no rind) off any citrus and letting it sit in vinegar for several weeks.

Now that I have been making my own dishwasher powder for a few years, there is still one more things I have struggled with; the mixture getting hard in the the jar.

chipping away at itEvery time I wanted to run the dishwasher I would have to chip away at the jar of dishwasher powder to get some of it out. I am a pretty patient person, so I didn’t get too worked up about having to chip away at it, but the final straw was when I couldn’t get it broken up with a spoon like I normally did and I used a knife.

Not only did I chip away at the dishwasher powder, but I took a big chunk of glass out of the bottom of the canning jar it was in. Opps! This patient person reached her limit. Time for a change.

My quick fix to this problem was just to keep the ingredients separate. Ya, that means opening four jars to just get the ingredients out, but each ingredient isn’t clumping up anymore. No chipping away at it. It is working great.

Now instead of 1T out of a big jar I measure out just shy of 1 teaspoon of each ingredient per load and things are working great. No more clumping. No more chipping away. yes, I have to open four jars, but I still think that I am ahead of the game when it comes to frugal and environmentally safe.

Do you make your own dishwasher detergent?

Sincerely, Emily

You can see what else I am up to over at Sincerely, Emily. The topics are varied, as I jump around from gardening to sewing to making bread or lotion and many things in between.

Read Full Post »

Lately I have been taking an appetizer to several different meetings. In the effort to make things easy on myself I just keep taking the same herbal cheese spread over and over. I don’t have to think about it, just make it and take it.

This spread is also great on toast and has been breakfast for me a few times over the past few weeks too.

Herbal Cheese Spread

  • 8 oz cream cheese
  • 1/2 – 3/4 cup crumbled blue cheese
  • 4T or more sour cream
  • 1 T dried basil
  • 1 T dried dill weed
  • Chopped walnuts (optional)

Let cream cheese and blue cheese stand at room temperature until soft
Blend two cheese until smooth.
Adjust the amount of sour cream to reach the consistency that you want.
Add basil and dill weed
Mix thoroughly and put into your serving bowl
Top with walnuts (optional)
Chill until serving
Makes 1 1/4 cups of cheese mixture

In place of the cream cheese you can use the farmer’s cheese that Jen posted about here at NDIN a few years ago or you can use a yogurt cheese. I didn’t find a post here on NDIN about making yogurt cheese so I will post about that in the next few weeks. Using the farmer’s cheese or the yogurt cheese changes the consistency of this herbal cheese spread, but it still works.

You can use what ever blend of herbs you like. Play with it. Have fun with it.

Do you have a favorite appetizer that you tend to make a lot?

Sincerely, Emily

Read Full Post »

Older Posts »